You want to produce Synthwave music, but don’t know which drum samples you should pick, how to make those huge snares and which effect you need to make your vocals sound like a robot? Don’t worry, here’s how to make Synthwave.
Drum Selection
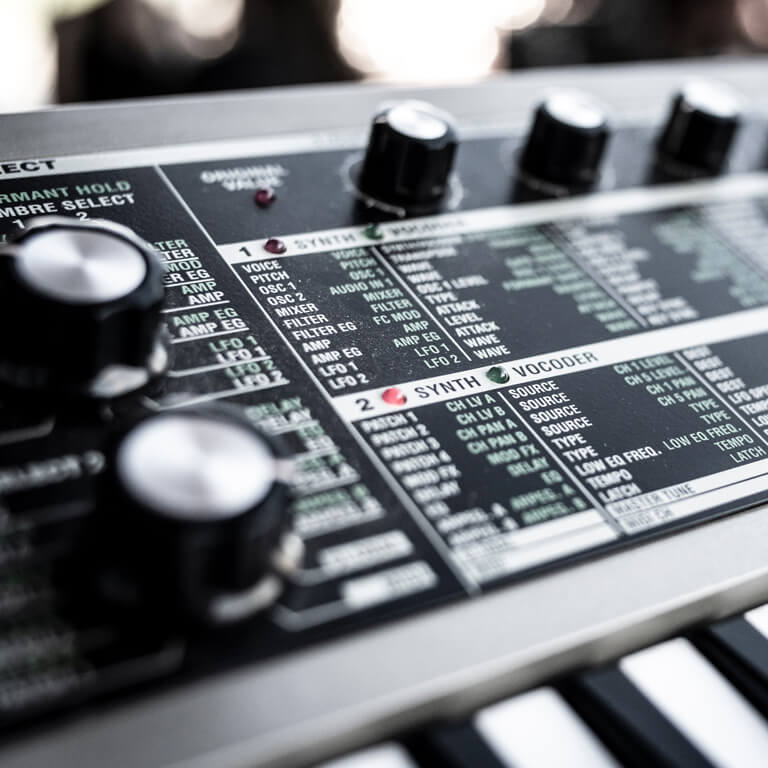
Before you start writing random beats or melodies in your DAW you should get your hands on the right drum sounds. Since Synthwave is a genre inspired by the 80s, I’d recommend going for samples from drum machines that were built during this time. Some of the most popular ones are the E-mu Drumulator, Linn LM-1 or Linn 9000 or Roland TR-909.

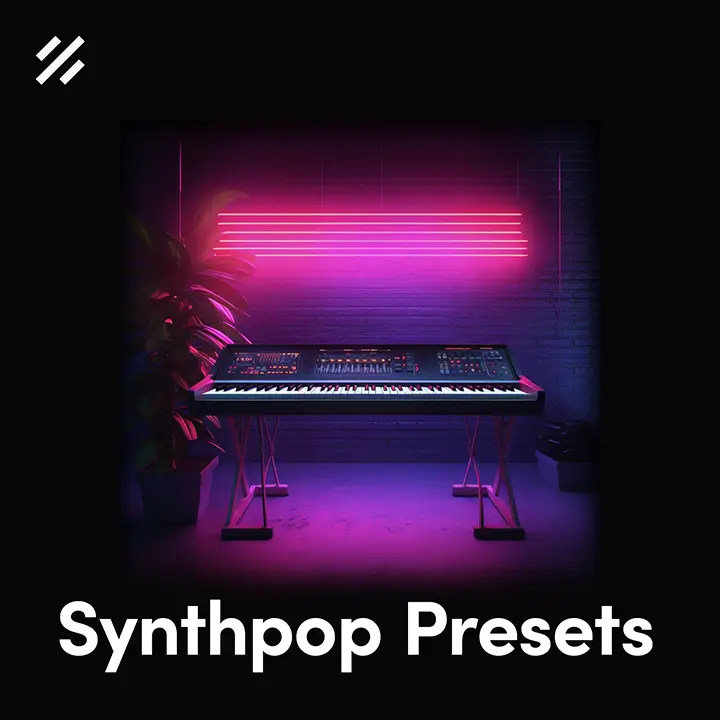
Although those drum machines definitely catch the retro vibe, you can clearly hear that they were made years ago and need a lot of processing to meet the needs of modern productions. So if you’re already quite good at sound design and mixing just search for some free 80s drum samples. If you’re rather new or just don’t want to spend a lot of time on this feel free to check out my Synthwave sample pack. It comes with 340 mix-ready drum shots and literally contains everything you need to produce Synth- or Retrowave.
Drum Placement
Once you got yourself some decent one shots you can start producing your first drum loops. Some people recommend a tempo between 100 and 120 BPM, which is a great starting point. You can however produce Synthwave in any other tempo, too. Regarding the drum placement you should definitely go for a less-is-more approach, because you need some space between the incredibly long snare hits for the synths to stand out.

One common pattern is the 4-to-the-floor kick pattern, with a big snare on every 2nd and fourth hit. You can however experiment with other patterns. Just make sure that you don’t overload them with unnecessary hits. Hihats can be placed in a 1/4, 1/8 or 1/16 grid, depending on the “speed” you’re going for. If you’ve picked a 1/8 or 1/16 grid I’d recommend playing around with the velocity a bit so the pattern doesn’t sound that robotic.
Gated Reverb
Whenever I think about Retrowave the first thing that comes into my mind are those huge snare drums and tom fills. Most of the drum machines I mentioned earlier don’t come with a reverb tail like this so you have to make it on your own. The technique we’re using for this is called “gated reverb”.
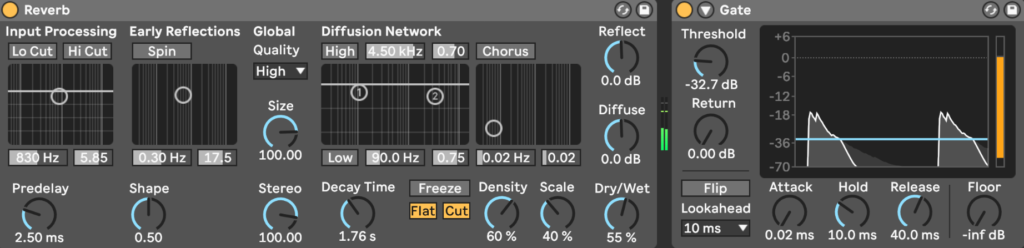
Start by adding your best VST reverb. Now play with the room size and decay time. Once you’re happy with the result you can add a gate after the reverb, which cuts the tail at a certain point. To make the reverb come through even more you can further add a few percent of OTT compression. I usually also make a small cut somewhere between 300 – 600 Hz to clean everything up.
If you’re really going for the perfect snare you probably have to spend a while trying out different samples and tweaking all parameters. The technique isn’t that complicated, but setting everything up in a way that actually sounds good is, so don’t be disappointed if you don’t manage to produce the perfect snare straight away.
The Bass
Making a basic Synthwave bass is quite easy. Start with a basic wavetable or waveform (either a saw or square wave). Now enable a low-pass filter and attach it to an envelope. Decrease the sustain of this envelope and adjust the decay time. Adjust the filter resonance and fine-tune all parameters.
In order to “pimp” the sound you can change the waveforms, add additional oscillators and play with a chorus, flanger or other effects. Just make sure to make all frequencies below ~150Hz mono afterwards 😉

The bass usually plays 8th notes following the fundamental tones of the chord progression. You can however also write longer notes. Just make sure to adjust the decay time of your envelope(s) to fit the notes you’re playing.
Chords
Since all synths from the 80s were pretty much based on basic shapes we’re also picking basic shapes here. Start with a saw, add multiple voices and detune them slightly. Turn down the volume envelope’s sustain (just a little bit) and increase the release time (also just a bit). Now add a low-pass filter and attach it to another envelope, just like you did with the bass. Increase the filter resonance and fine-tune all parameters.
Once you got this basic patch you can start adding effects.
I like to add a delay with different timings on the left and right sides. For example: 3 16th notes on the left and 4 16th notes on the right. In order to differentiate the delay from the dry signal I’d further add a filter cutting the super low and high frequencies.
You can further add reverb or modulation effects, like flangers or phasers.
Lead
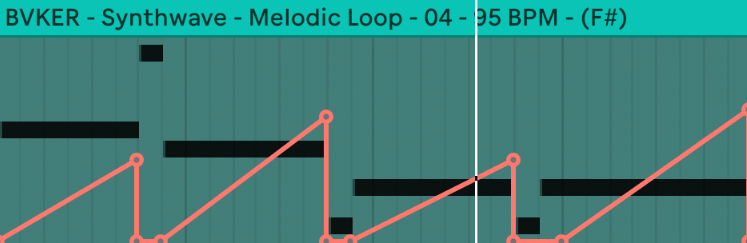
For the lead you can basically start with the patch we previously made for the chords. If you’d like to get some variation you can change up the waveform and adjust the ADSR settings. To create a vibrato you can modulate the tune with an LFO. A rate about 7 Hz should work fine. If the synth you’re using allows you to automate the modulation depth you can start notes without any vibrato and increase the vibrato slowly while the notes are decaying.
Vocoded Vocals
Some Synthwave songs, like “Nightcall” by Kavinsky for example are known for their weird distorted vocals. The effect you need for this is called a “vocoder”. There are plenty of plugins by a variety of different brands available, but one I personally enjoy a lot is the VocalSynth 2 by iZotope.

So in order to achieve a similar result you obviously have to slap a vocoder on your vocals. Every vocoder has different parameters so I can’t really explain how all of them work. They should however have a few presets you can go through until you find a decent one you can use as a starting point.
To make the vocoder work in the right way we need to feed it with a so-called sidechain signal. Duplicate the MIDI of your chords to a new audio track and insert a new synth. Start with a plain saw wave, without any filters or effect. You can add multiple detuned voices tho to make everything wide and stereo. Now mute this track so you can’t hear it, open the vocoder and select the new chords as a sidechain input.
Processing
If you feel like your synths don’t sound “analog” or “vintage” enough you can try to process them using plugins that are meant to make anything sound more lofi. These VSTs usually combine a bunch of different effects, including saturation, distortion, filters and pitch modulation. If you don’t have such a plugin yet you can take a look at this list of the best lofi plugins I made a while ago (some of them are even free to use).
Conclusion
The tricks and techniques I explained in this guide are quite basic and you should be able to follow all steps, no matter which DAW or VSTis you own. Once you got those basics right you can certainly start playing around with different waveforms, effects and advanced techniques.