

In a world full of plug-in companies selling “analog” emulations or multi-effects “created by famous producers,” it’s refreshing to come across something that could potentially be innovative. So as soon as I saw the Eventide SplitEQ, I wanted to give it a try. Fortunately, there’s a free demo available, so I was able to play around with it for a while and eventually formed my opinion. Want to know whether this plug-in is a hit or miss? Continue reading!
First Impression
My first emotion learning about the SplitEQ was curiosity. The website claims this to be a “groundbreaking” EQ with “a fundamentally new approach to corrective and creative audio equalization,” which actually seems quite accurate, given that I haven’t heard of an EQ that allows you to shape transients and tonal elements of a sound separately.
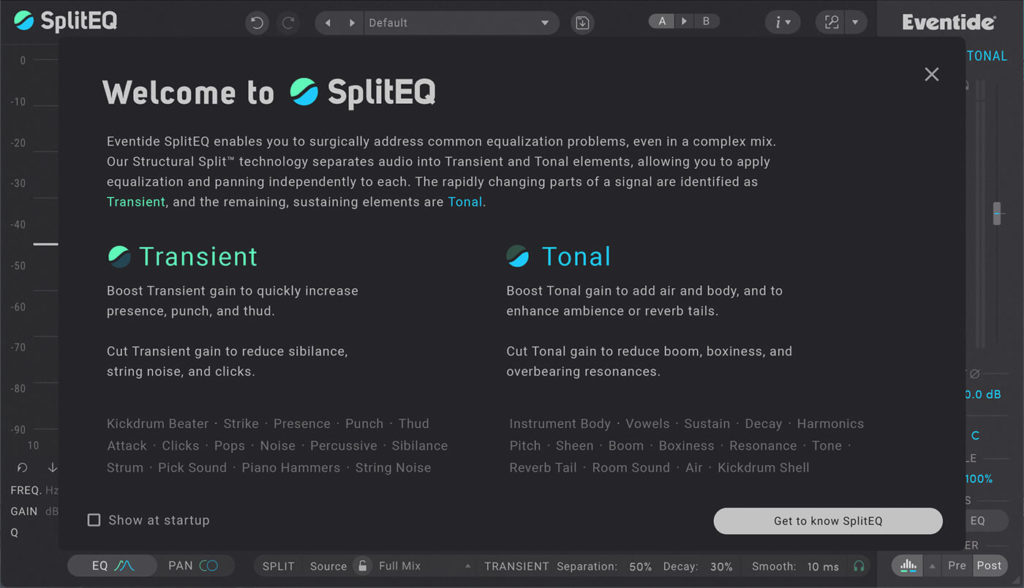
The demo can be downloaded quite easily and requires an iLok account (but thankfully, no dongle). When opening the SplitEQ for the first time, a tour pops up, which gradually guides you through the plug-in. All-in-all, my first impression was quite good.
Let’s see if they can keep up with their promises!
Overview
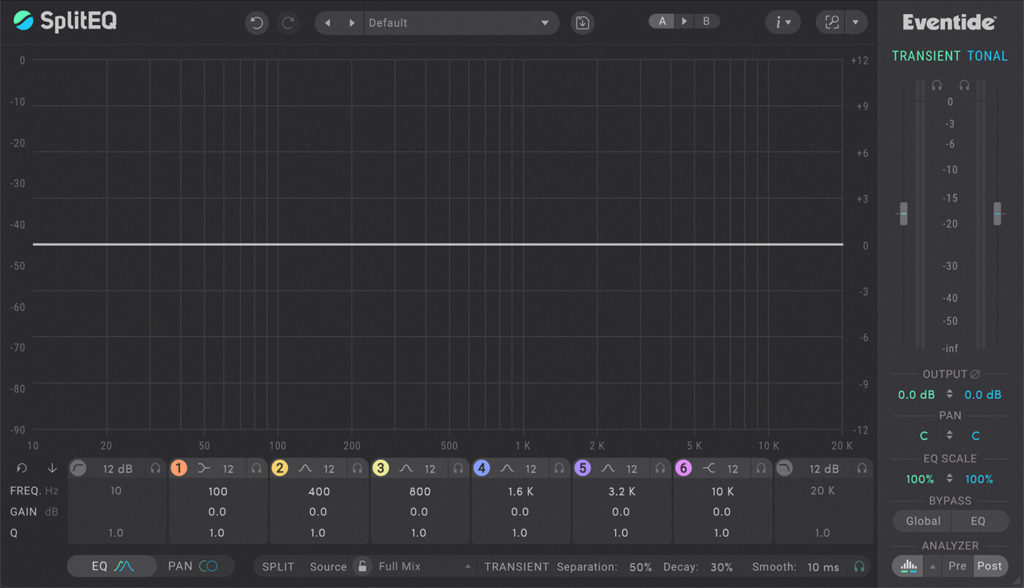
Seeing SplitEQ’s GUI for the first time could lead to the assumption that this is just another parametric EQ. A menu and presets bar at the top, a big visual EQ graph with a spectrum analyzer in the middle, and a section with frequency, gain, and Q values for each band right below. On the right side, you’ll find a typical output section. However, looking more closely, you’ll find features other EQs don’t have.
Visual EQ Curve
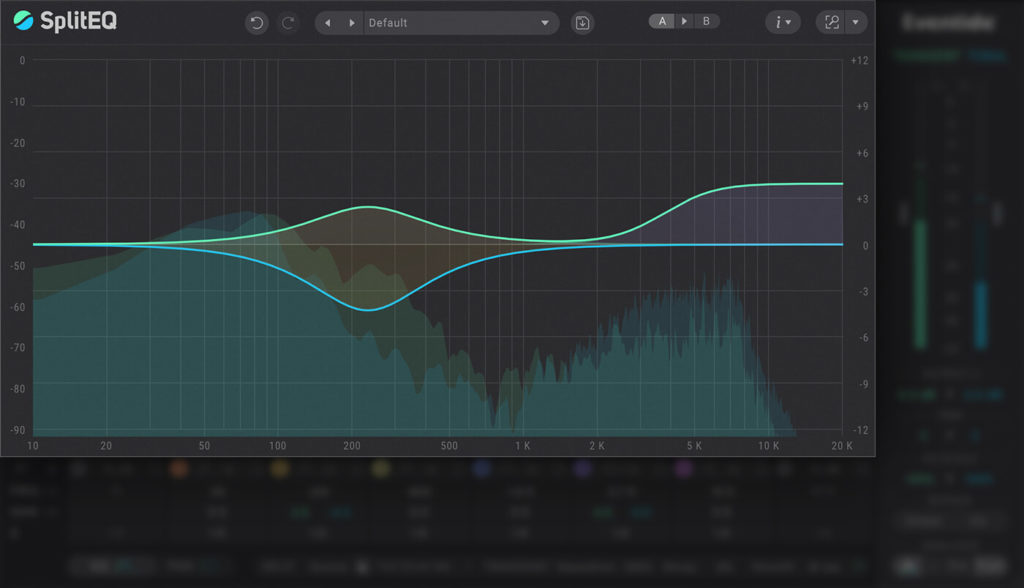
As soon as you hover over any EQ band, you’ll see that it’s surrounded by a ring, divided into a blue and a green section. You can drag both parts of this band independently, setting different Q, and gain values. Similar to something we know from left/right or mid/side EQs.
The big difference is that the green curve only affects transients, while the blue curve affects the tonal part of your source. A useful application for a tool like this would be to boost the body of a snare transient while cutting it on the tonal part to leave more room in the mix. This is a technique I used quite a lot creating my new Chillwave sample pack “Neon Palms”.
Band Editors
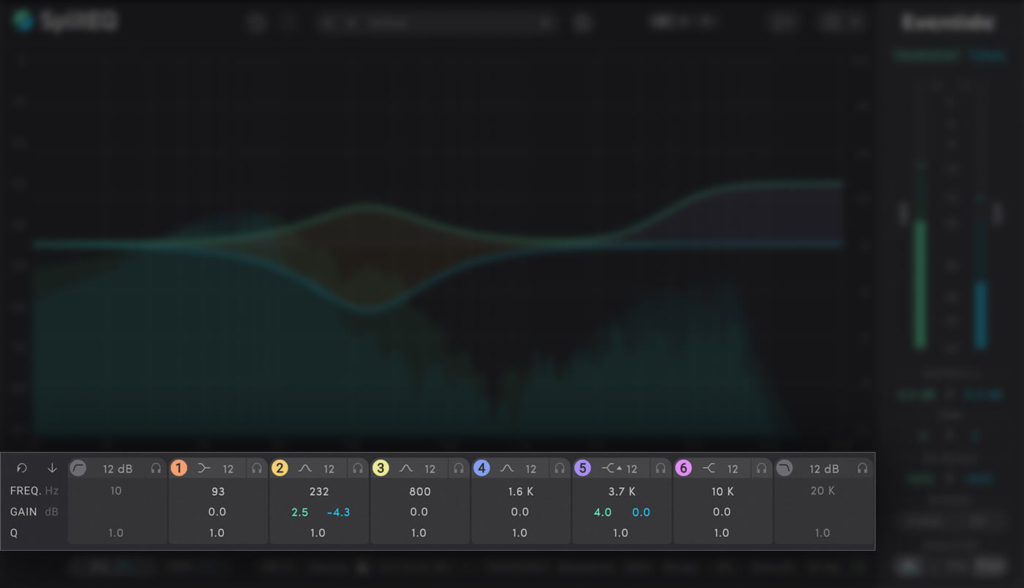
Right below that graphic part, which allows you to drag the EQ bands freely around, you’ll find boxes displaying the exact values for filter type, slope, frequency, gain, and Q. Again, when hovering over gain or Q, you’ll see that they’re divided into blue and green sections. A slider in the middle allows you to control transients and tonal values simultaneously. Additionally, there’s a headphone symbol soloing the selected band, the selected band’s transients, or tonal part.
The VST comes with 6 full-parametric bands, plus low- and high-pass filters. Interesting to point out is that you can adjust the slope, as well as Q values for all of the 6 bands, which can lead to EQ curves, you can’t get using other parametric EQs. This feature alone isn’t groundbreaking since you can also find it on FabFilter’s Pro-Q 3, for example, but it’s definitely nice to have.
Pan Section
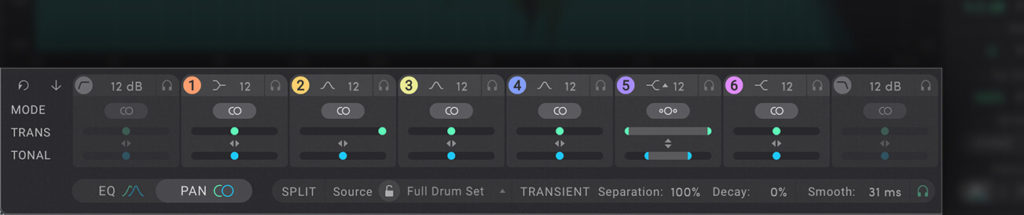
In the bottom-left corner is a switch that controls whether the band editors display the EQ or PAN parameters. The latter allows you to set how much each EQ band affects either the left and right or mid and side signal. What’s unique about this control is that, in contrast to other EQ plug-ins, you can’t just select mid, side, left, right, or stereo. Instead, you can seemingly morph between those values. Great job, Eventide!
Split Controls

At this point, you might have asked yourself how SplitEQ decides how long the transient part of your sound is. The cool part is that you have full control over this. There are 14 transient detection presets for various sources, including a full mix, different drums, or tonal instruments, plus you can dial in the separation amount and decay time. There’s also a smooth control. These many options make other transient tools look pretty old.
Output Section
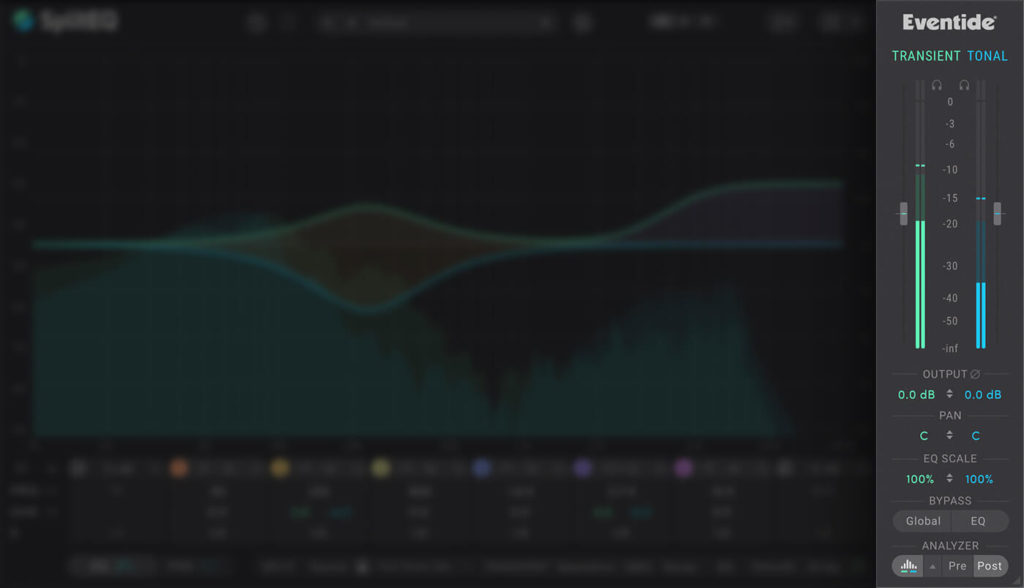
On the right side, you’ll find (who would have guessed it) 2 level meters displaying the transient and tonal levels. You can also adjust the output of both signals and their panning, and you have two separate scaling controls ranging from -200 to 200. Below you’ll find bypass knobs and some additional settings for the spectrum analyzer.
Usability
Some plug-ins have features that don’t directly affect the sound but allow you to work way faster and therefore be more productive. These features include being able to type in values with your keyboard, quickly reset parameters to their defaults, undo/redo knobs, or the ability to lock specific parameters while scrolling through presets. Eventide nailed all of these features with the SplitEQ and even came up with some additional features, including a colorblind accessible theme. You can tell that some thought went into this plug-in!
Conclusion
Eventide’s SplitEQ is a genuinely innovative tool, allowing you to shape transients and EQ curves in a way that was never possible before. Given that the plug-in runs perfectly smooth, does what it’s supposed to do, and all possible usability and workflow features have been thought of, you can tell that the SplitEQ was made by professionals.
The SplitEQ is available via eventideaudio.com